

How to Diagnose and Fix Common Adhesive Dispensing Problems: A Troubleshooting Guide
Every dispensing system, no matter how well it was specified, eventually runs into problems. The adhesive bead varies shot to shot. The gun drips between dispenses. The pump pressure fluctuates. The line has to stop, someone gets called, and the finger-pointing starts.
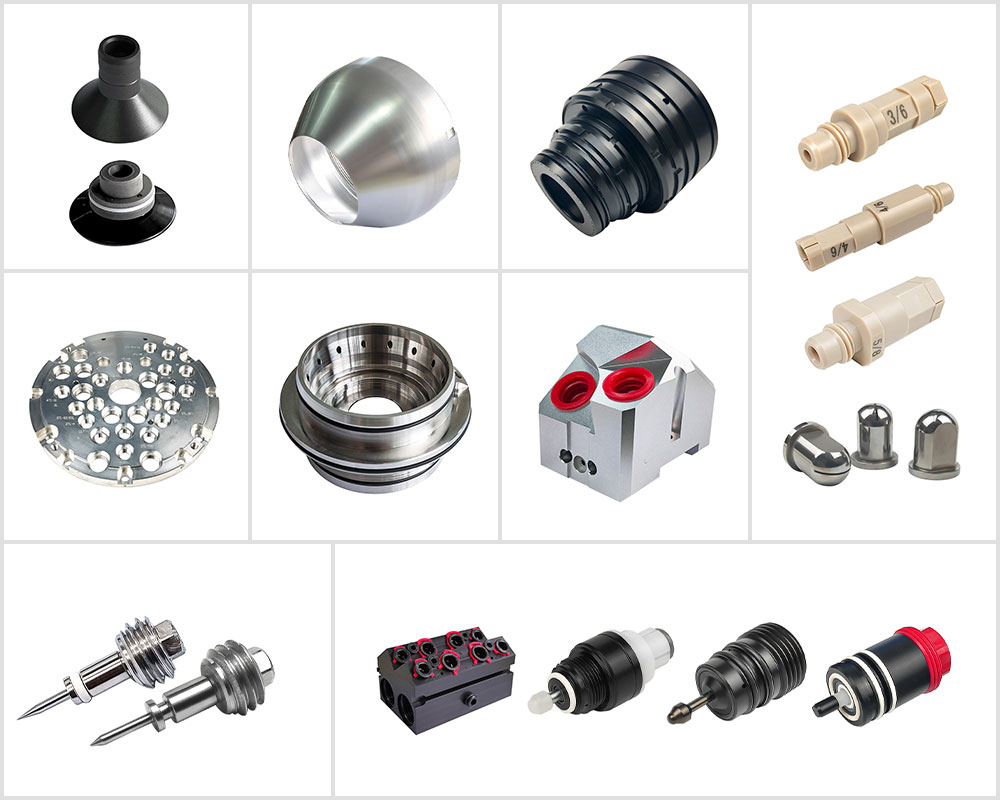
Before you tear the whole system down or call the OEM for a service visit that takes three weeks to schedule, work through this guide. Most dispensing problems fall into a handful of categories. The symptoms are recognizable, and the fixes are usually straightforward — if you know where to look.
The Six Problems That Account for 90% of Dispensing Failures
Problem 1: Inconsistent Bead Volume or Width
Symptoms: The adhesive bead varies in width or height from shot to shot, even with identical timing and pressure settings. The variation is random, not directional (not getting progressively better or worse).
Most likely causes (in order of frequency):
- Air entrapment in the fluid line. Adhesive systems pull material from drums or pails, and air gets introduced every time the container is opened or refilled. Compressed air lines also introduce bubbles. Trapped air is compressible, so each shot absorbs some of the pressure pulse differently, resulting in random volume variation. This is the single most common cause of bead inconsistency in gear pump systems.
- Worn needle and seat. The needle valve seats over millions of cycles, and both the needle tip and the seat face wear. Once the sealing geometry is compromised, each open/close cycle seats slightly differently, causing shot-to-shot variation. You will see this worsen gradually over weeks, not minutes.
- Temperature drift. Adhesive viscosity is highly temperature-dependent — typically 2–5% change in viscosity per degree Celsius. If your heating system has poor temperature uniformity (hot spots near the heating element, cooler zones near the gun inlet), you’ll see volume drift that follows the ambient temperature pattern during the shift.
- Incorrect controller timing. If the controller’s open-time setting is marginal relative to the gun’s response characteristics, small variations in air pressure or voltage translate directly into flow variation. Increase the open time by 10–15% and see if variation drops.
Diagnostic approach: Run a controlled shot test — fix pressure, temperature, and controller timing. Fire 30 shots into a weigh pan and measure the weight of each. If variation is >±5%, the problem is gun or fluid path. If variation is consistent (all shots too low or all too high), the problem is system calibration.
Problem 2: Gun Dripping or Stringing Between Shots
Symptoms: After the gun fires, adhesive continues to drip from the nozzle for several seconds. In severe cases, a string of adhesive stretches between the nozzle and the substrate, creating a visible defect.
Most likely causes:
- Inadequate valve closing speed. The valve closure is driven by air pressure (in pneumatic guns) or spring force (in some designs). If the air pressure is too low or the spring is fatigued, the valve doesn’t close fast enough to cut off the flow before gravity takes over. This is particularly severe with low-viscosity materials.
- Incorrect nozzle geometry. A nozzle with a chamfered or radiused inlet edge can create a flow path that bleeds adhesive out slowly after the valve closes. A square-cut nozzle face provides a cleaner cutoff.
- Back pressure from the pump. If the pump maintains residual pressure at the gun inlet after the valve closes, adhesive will seep past the valve seat until equilibrium is reached. This is common in gear pump systems without proper pressure-relief or check valve configuration between pump and gun.
- Adhesive rheology mismatch. Some adhesives — particularly high-solids or paste formulations — have thixotropic or yield-stress behavior. They don’t flow until a threshold pressure is reached, then flow suddenly. This creates a situation where the valve closes but the material keeps moving under its own momentum.
Quick fix: Install a shutoff valve (either a dedicated component or a pilot-operated check valve) within 100mm of the gun inlet to maintain a positive seal during idle periods.
Problem 3: Pump Pressure Fluctuation
Symptoms: The system pressure gauge shows irregular oscillation, or the pump output volume varies even though the pump appears to be running normally.
Most likely causes:
- Gear pump wear (scored gears or housing). Over time, the meshing gears in a gear pump develop wear patterns. When the clearances increase beyond design tolerance, fluid leaks back past the gears during the pressurization stroke, reducing output efficiency and creating a pulsing pressure variation at the pump outlet. This is a progressive failure — expect it in pumps over 5 years old or with high-cycle-count operation.
- Air in the inlet line. The pump is pulling adhesive from the reservoir. If the inlet line has air pockets or the reservoir is running low (causing aeration at the inlet), the pump will ingest a mixed fluid-air slug. Compressed air in the pump chamber doesn’t displace fluid uniformly, causing severe pressure spikes and drops.
- Relief valve chatter. If the system’s pressure relief valve is set too close to the normal operating pressure, even small demand variations cause the relief valve to open and close repeatedly. This creates a rapid pressure oscillation. The fix is to set the relief valve at least 20% above the maximum operating pressure.
- Motor or drive system irregularity. For electric drive pumps: check the motor’s speed consistency. A motor with a failing bearing or irregular drive signal will produce uneven pump output.
Problem 4: Premature Seal and Needle Wear
Symptoms: The system was running fine, but now requires more frequent adjustment. Shots are getting slightly larger. The gun is leaking around the shaft. The cycle count on the maintenance log is nowhere near the rated life of the seals.
Most likely causes:
- Chemical attack on seals. This is extremely common and frequently misdiagnosed. The adhesive or sealant being used contains solvents, additives, or reactive chemistry that attacks standard NBR (nitrile/Buna) seals. The seals swell, crack, or lose hardness over days to weeks, then fail. The system was “fine” because the original seals were fresh — they degrade rapidly once the attacking chemistry penetrates the material.
- Abrasive filler in the adhesive. Some industrial adhesives contain filler particles (silica, carbon black, metallic powders). Over millions of cycles, these particles act as an abrasive paste against the needle and seat sealing faces. This wears the precision sealing geometry rapidly. Microscopic inspection of the removed needle will show scoring marks if this is the cause.
- Dry cycling. The gun has been fired without adhesive in the line — or with adhesive that has cured in the nozzle — causing metal-to-metal contact between needle and seat. This damages the sealing surfaces in a single event. Always confirm adhesive flow before initiating production cycles.
- Temperature extremes. Operating the gun at temperatures outside its rated range (either too hot or too cold) accelerates seal aging. Check the gun’s rated temperature against your actual process temperature, not just the specification sheet’s “max temp.”
Problem 5: Nozzle Clogging
Symptoms: The adhesive flow stops or drops abruptly during production. The gun fires but nothing comes out, or the bead is significantly thinner than normal.
Most likely causes:
- Cured material in the nozzle. If the gun was left idle with adhesive in the line, the material may have partially cured or gelled, particularly near heated nozzle tips. This creates a partial blockage that restricts flow.
- Particle contamination. Filler settling or contamination introduced during material changeover or drum refilling. If your adhesive sits overnight, heavier fillers can sediment, and the first shots of the morning carry a higher concentration of solids that clog the nozzle.
- Material incompatibility. When switching adhesive types (e.g., from epoxy to polyurethane), residual chemistry in the fluid path can cause cross-linking or coagulation. Never assume two adhesives are “compatible” in the same line without confirming with the adhesive manufacturer.
- Incorrect nozzle size. If the nozzle was replaced with an undersized tip that cannot handle the volume at the operating pressure, the backpressure causes the pump to work harder, potentially triggering a safety cutoff or stall.
Prevention: Implement a purge routine before every idle period. Use a compatible purge compound (typically a low-viscosity version of the same chemistry or a manufacturer-recommended purge agent) to flush the gun and nozzle.
Problem 6: Adhesive Foaming or Air Bubbles in the Bead
Symptoms: The applied bead has visible bubbles or a foamy appearance. The adhesive doesn’t fill the joint completely. Post-cure adhesion is lower than expected.
Most likely causes:
- Improper mixing (for two-component adhesives). If you’re using a 2K system and the mix ratio is off, unreacted components generate gas as the chemistry proceeds, creating foam. Check the mix ratio dynamically — not just the static ratio settings.
- Contaminated compressed air supply. If the pneumatic system driving the gun uses shop air that hasn’t been properly dried and filtered, moisture and oil enter the fluid path and create foam. Install and maintain air preparation equipment (filters, dryers, regulators) upstream of the gun.
- Rapid pressure drop. When adhesive flows through a restriction (nozzle, valve seat) rapidly, the pressure drop can cause dissolved gases in the adhesive to come out of solution as bubbles. This is called cavitation. It’s more common with lower-viscosity materials and higher system pressures.
- Storage temperature issues. If the adhesive drums have been stored at temperatures below the manufacturer’s minimum, the viscosity increases significantly and the material becomes harder to de-air during pumping. Bring adhesive to operating temperature before use.
How to Build a Systematic Diagnostic Routine
When a dispensing problem shows up on the line, work through this checklist in order before dismantling anything:
Step 1: Document the symptoms. When did it start? Is it getting worse? Does it happen on the first shot of the shift, after a material change, after maintenance? Write it down. This information eliminates 70% of possible causes immediately.
Step 2: Run a single-variable test. Fix everything you can — same operator, same material lot, same temperature, same pressure — and run 50 shots. Observe whether the problem is consistent or random. Consistent = calibration or material issue. Random = mechanical or wear issue.
Step 3: Check the simplest, cheapest components first. Filters, seals, and air lines are cheap and easy to replace. Don’t pull the pump apart until you’ve ruled out the seals and the air supply.
Step 4: Check the material certificate of analysis (CoA). If you changed adhesive lots, pull the CoA and compare viscosity, solids content, and filler particle size distribution against the previous lot. Material variation is a common cause of problems that seem to come from nowhere.
Step 5: Call the OEM with specific data. When you contact your equipment manufacturer, arrive with shot weight data, pressure readings, material lot number, and cycle count. Vague descriptions of “it’s not working right” get vague responses. Specific data gets specific solutions.
When It’s Time to Replace Components
Not every problem has a cheap fix. Here are the thresholds where component replacement is the right call:
| Component | Replacement Indicator |
|---|---|
| Needle valve (gun) | Shot-to-shot weight variation >±5%; visible wear on needle tip |
| Seal kit | Any visible swelling, cracking, or hardness change; cycle count >500K for NBR seals |
| Nozzle | Flow restriction; deformed tip geometry |
| Gear pump | Pressure fluctuation not resolved by air purge; audible gear noise increase |
| Filters | Pressure drop at inlet >20% above baseline |
Hongguang Application Support
If you’ve worked through this guide and still can’t isolate the problem, send us your system specs and symptoms. We work with automotive dispensing systems daily and can often diagnose from a description.
What to include in your inquiry:
- Adhesive type and viscosity
- Pump model and pressure settings
- Gun model and cycle count
- Symptoms and when they started
- Any recent changes (material, maintenance, operator)
We’ll respond within 24 hours.